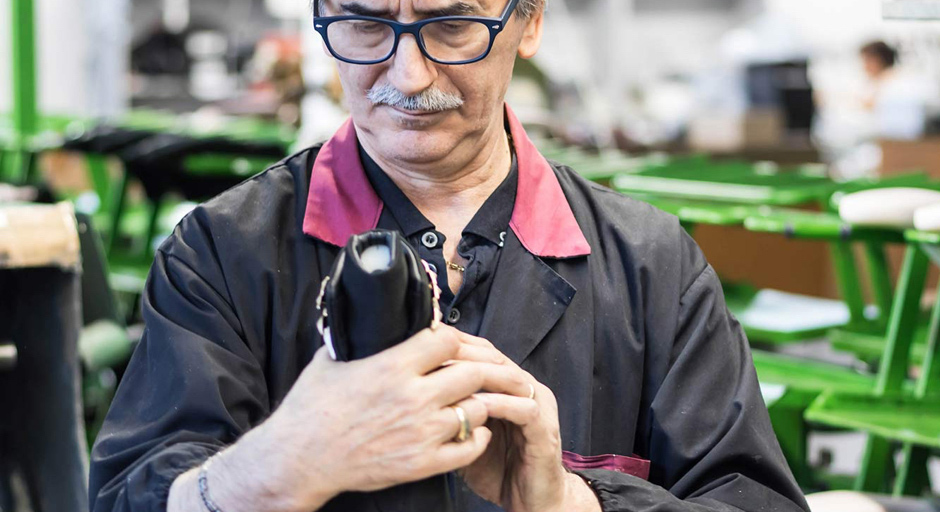
"The right shoe can make everything different."
Step 1.
Design & Illustration
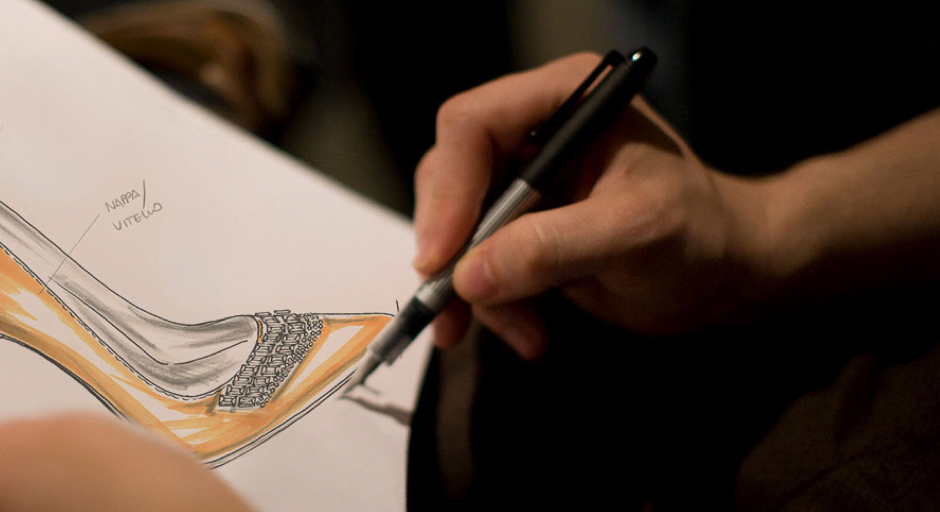
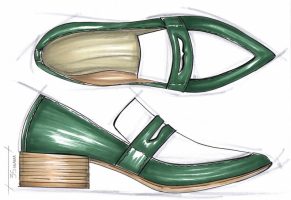
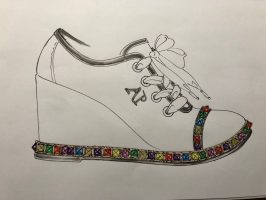
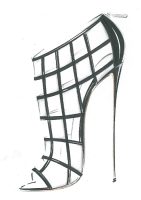
The shoe designer is a true artist – merging aesthetics, collection coherence, functionality and comfort into one product. After having the shoe concept in mind, the creative idea is then conveyed through sketches and illustrations, where they will be passed to the shoemakers to start the shoemaking process. Learn more about our Design Service.
Step 2.
Material Sourcing
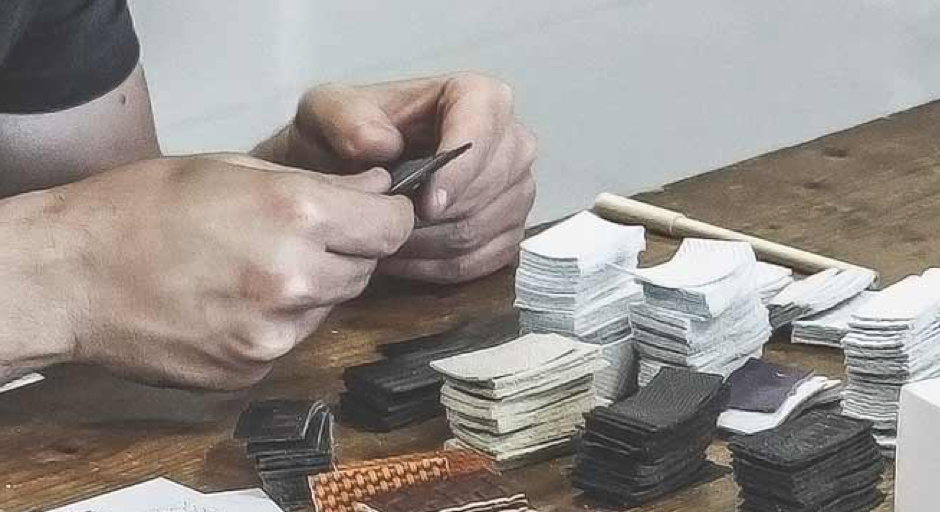
Leather, rubber and other vegan materials are sourced from the finest Italian tanneries and textile manufacturers. Our Vegan materials can be used to reinforce the leather, providing increased strength and breathability.
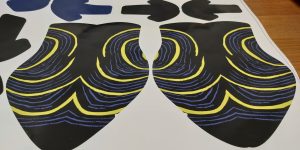
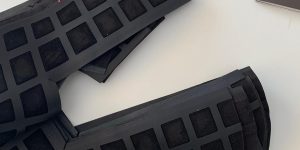
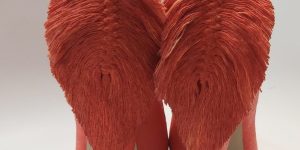
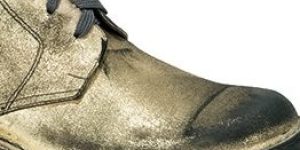
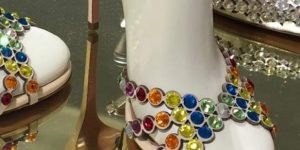
At this shoemaking stage, sophisticated leather processing techniques and hardware add-ons are also chosen to give the shoe its unique personality, such as interlaced leather weaves, silk-screen printing, embroidery of accessories and jewellery, or material distressing like stonewashing.
Step 3.
Pattern Making
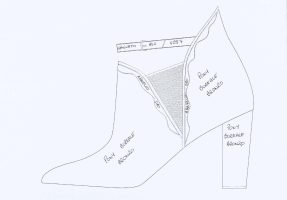
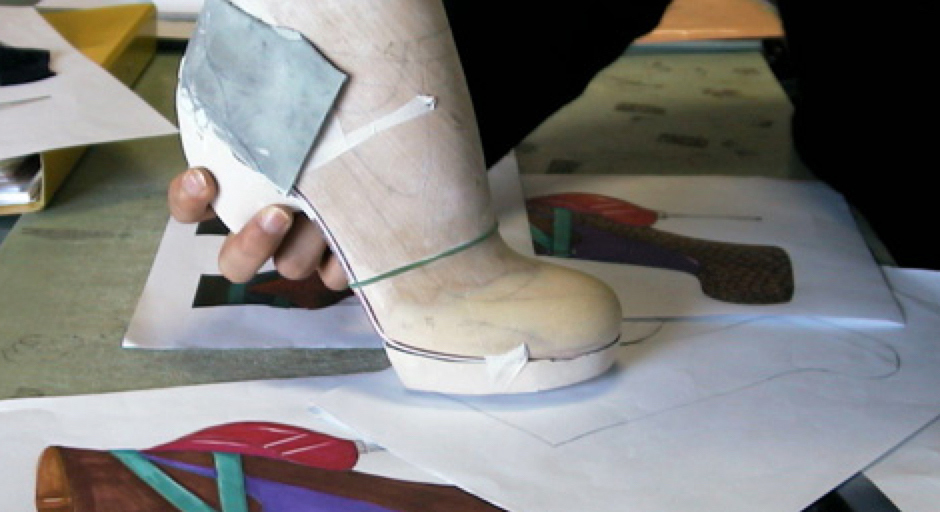
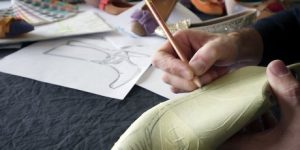
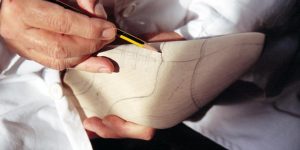
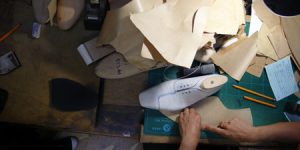
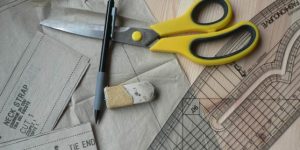
At this shoemaking stage our Pattern Maker takes over to analyze and interpret the designer’s concepts and provide the technical support necessary to create an initial prototype of the shoe. The pattern maker’s first job is to select the perfect shoe last – the wooden chassis on which the shoe is built.
Step 4.
Clicking
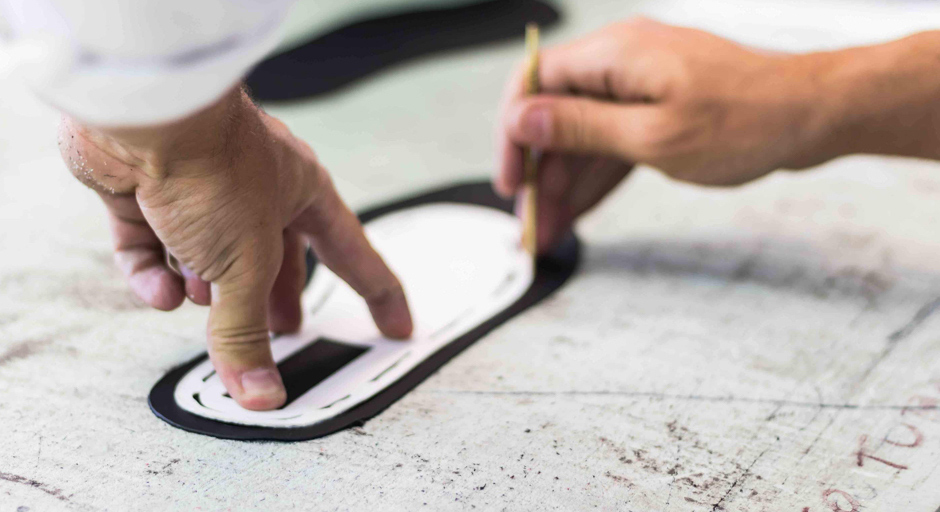
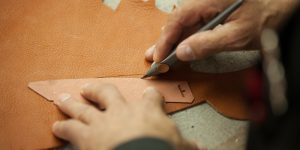
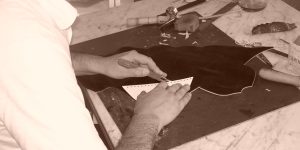
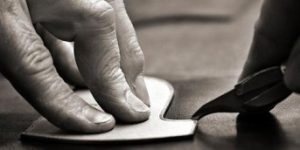
“Clicking” is the traditional name for the process of leather hand cutting – it comes from the sound of knives cutting through brass-bound pattern. During this process of shoemaking, the clicking artisan cuts all the leather pieces necessary to make the linings and the upper (part of the shoe sitting on top of the foot).
Clicking is a very specialized skill for examining leather for defects, scars, or growth marks – any flaw in the leather must be avoided before cutting each piece by hand. A qualified clicking artisan needs to be an experienced leather worker in order to minimize material wastage while retaining the utmost quality.
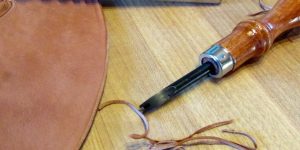
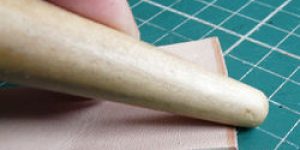
Afterwards comes the edging process – flattening the edge of the pieces of cut leather to create crisp, neat seams between leather pieces for a comfortable fit and finish one would expect from a pair of hand-crafted shoes.
Step 5.
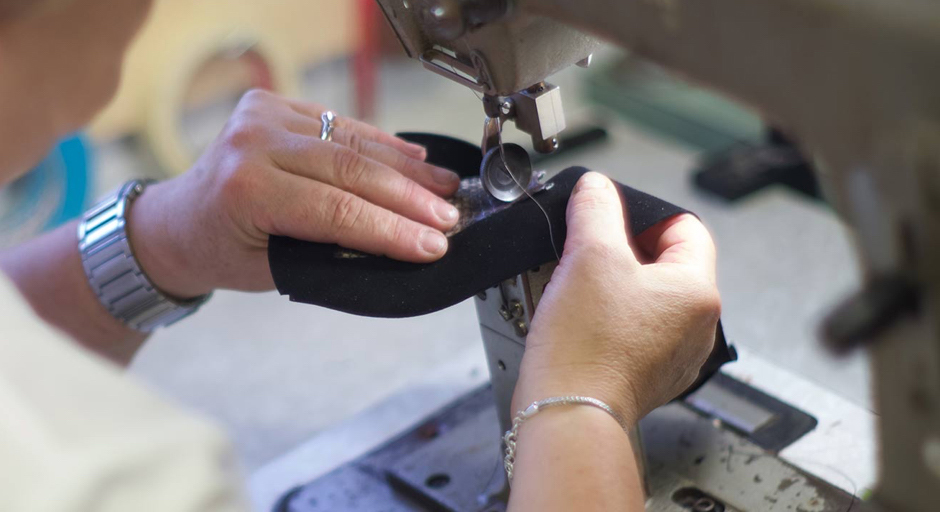
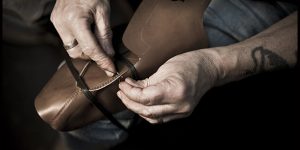
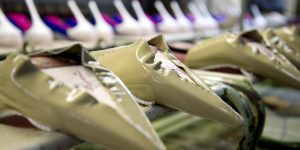
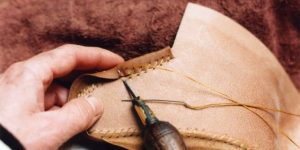
Closing
Step 6.
The Making Room
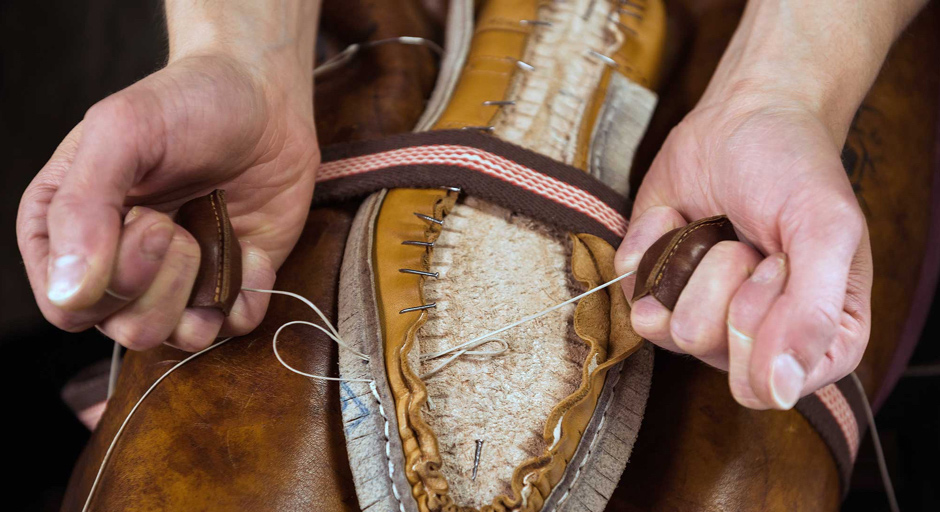
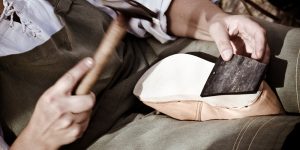
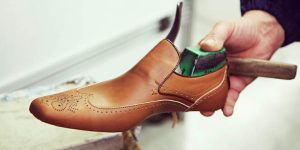
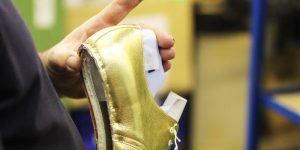
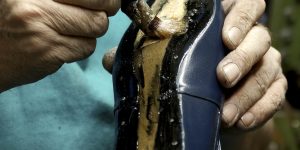
After several further trimming iterations, the lasted upper is ready to have the welt sewn into the shoe. The choice of welt is determined by customer requirements – it can be an all-rounder, three-quarter, flat, storm, or reversed sewn welt.
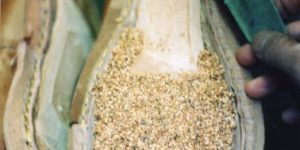
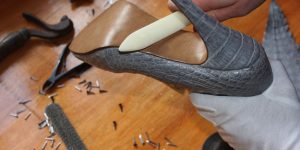
Following the welting shoemaking process, cork material is utilized to fill the space between the insole and sole. Cork has always been the traditional material of choice for this and although expensive, it gives excellent flexibility and insulation to the shoe. Artisans will stitch the sole and welt together in a channel that can either be left open or folded. Finally, the heel will be made from layered pieces of leather for increased cushion and shock absorption and nailed to the shoe.
Step 7.
Finishing
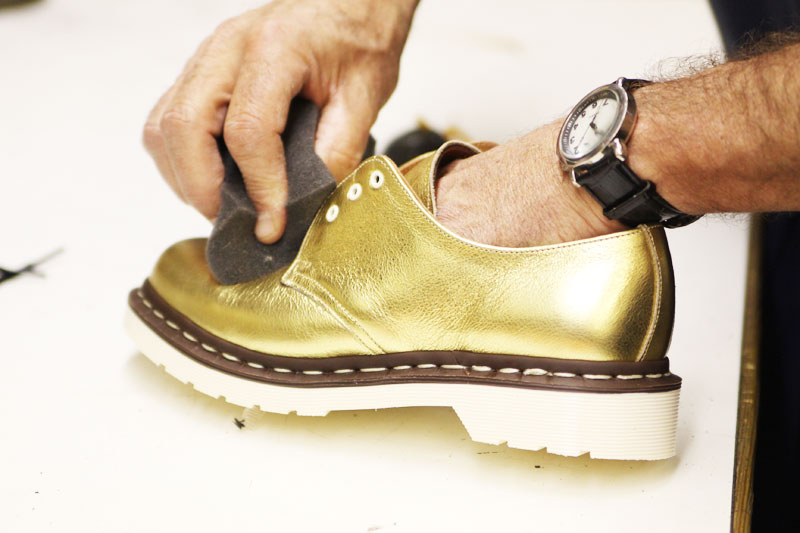
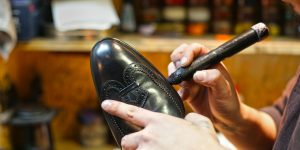
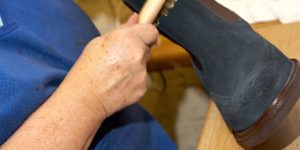
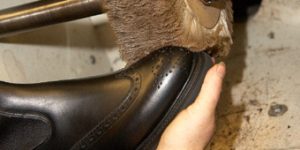
The experienced hands of a finishing artisan addresses any remaining imperfections whilst finishing the assembled shoe. Hot wax is applied to provide a waterproof seal and the heels are attached, trimmed and scoured for a smooth finish. Various decorative processes and finishes are applied at this shoemaking stage before a final polish to provide a distinct appearance.
Step 8.
Quality Control
